Creating a VM within a hidden veracrypt partition
Misc
Ed Holden
In March of 2011, the US 9th Circuit Court of Appeals ruled that Border Patrol agents have the authority to seize, copy, and inspect the contents of any electronic storage device crossing into the United States. To make matters worse, you have no control over what happens to the copies of your data created when (or if) your device is returned to you. Perhaps your online banking password is stored on your hard drive. Or perhaps you have confidential business correspondence in your email client. Maybe all you have stored is a collection of family photos that you’d rather not see a bunch of strangers thumbing through. How do you protect your privacy while still complying with these (albiet onerous) requirements?
The obvious solution to this problem is to encrypt the data. This, however, may not be enough to protect your privacy. Courts (at least in the US) have also ruled that a person can be forced to give up encryption keys to facilitate access to private data. Therefore, the key is not just to encrypt your data, but also to have plausible deniability that the data even exists in the first place. The solution? A hidden encrypted virtual machine.
Overview
The big-picture view of the procedure to set up a hidden encrypted virtual machine are as follows:
- Download and install the required software:
- VeraCrypt
- Oracle VirtualBox
- Your operating system of choice (this guide will demonstrate FreeBSD but most other operating systems will work, including Windows and Linux distros such as Ubuntu)
- Create a VeraCrypt encrypted container and a hidden volume within the container.
- Launch VirtualBox and install your private OS into the hidden volume in the VeraCrypt container.
Downloading and installing the software
We are going to assume that you already know how to download and install software in your host operating system. Here are a few items to note as you install the software. As of this writing, the latest stable versions of the required software are VeraCrypt v. 1.25.4, VirtualBox v. 4.1.20, and FreeBSD 9.0. Be sure to use the latest versions of these applications to ensure that known bugs and security issues have been addressed. Also, since VeraCrypt will be the crux of your secure operating environment, be sure to validate the downloaded file with VeraCrypt’s PGP signature to ensure that the application has not been tampered with (available from https://veracrypt.fr/en/Downloads.html).
Creating the Hidden Volume
-
Launch the VeraCrypt application and select
Create Volume

-
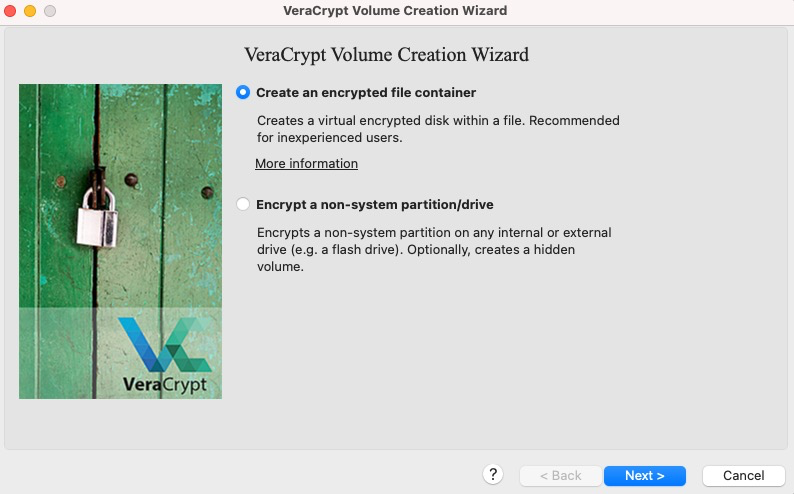
Select the option to create an encrypted file container. This will give you the ability to keep the entire system portable (you can keep it on your hard drive, place it on a USB stick, etc.) Optionally, you can choose instead to actually create an encrypted partition on one of your devices.
-
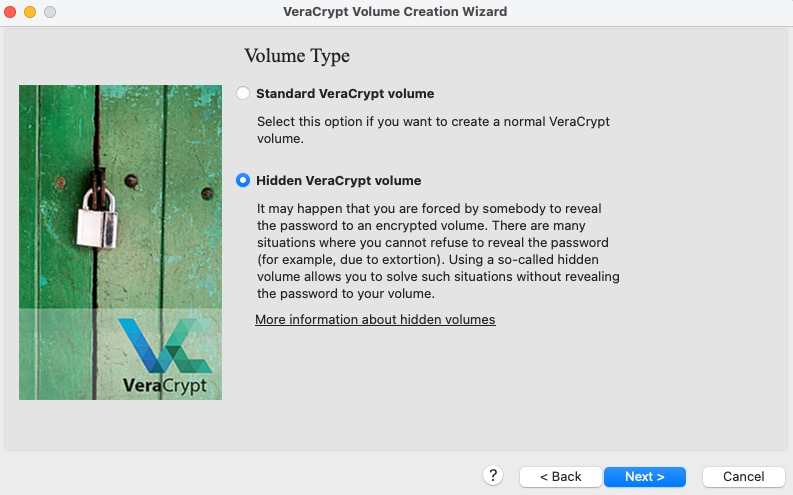
At this screen, select the option to create a hidden VeraCrypt volume.
-
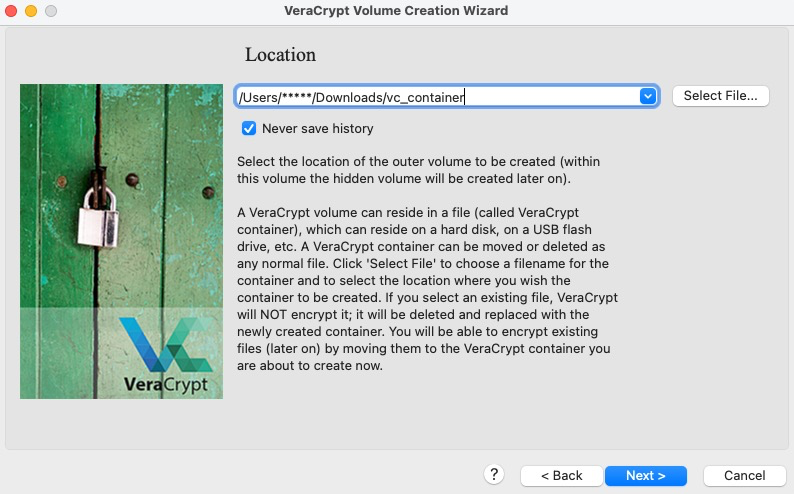
Here you choose a filename for your container and a location to store it. Do not worry too much about hiding this file, its location is not a factor in protecting the plausible deniability of the existence of your virtual machine.
-
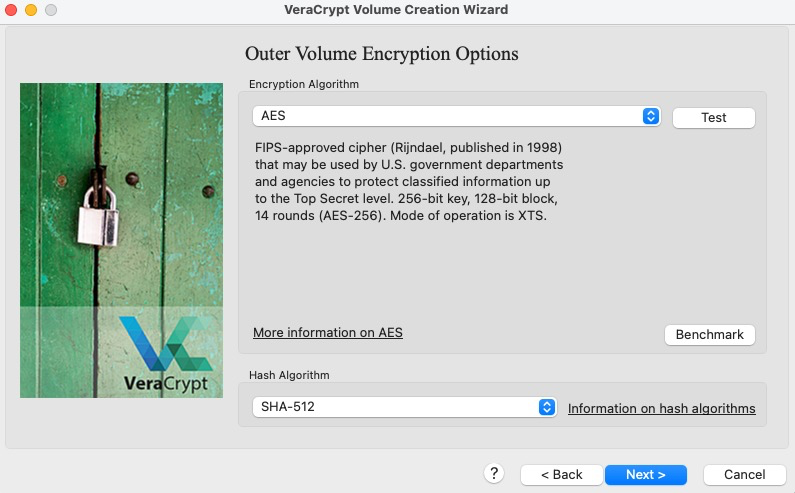
Here, you are to select the encryption and hash functions. Unless you have compelling reasons otherwise, it is recommended to use the default settings.
-
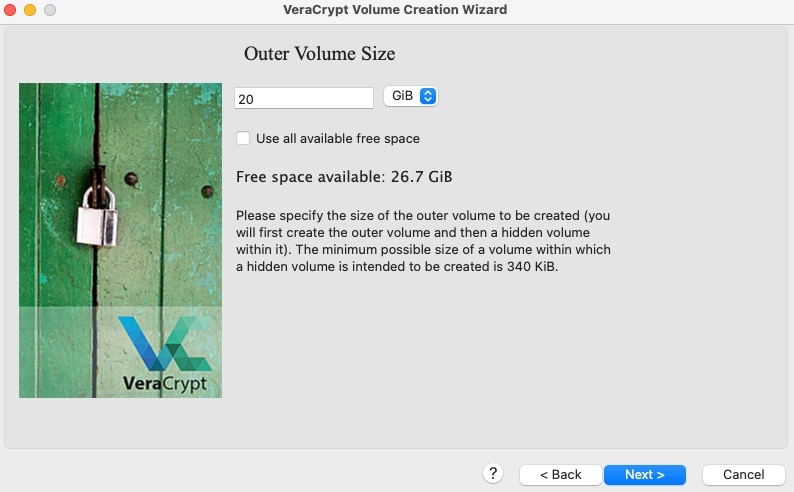
Select the size for your outer container. This should be large enough to accomodate both your decoy files and your hidden container that will hold your virtual machine.
-
Now you are prompted to set the password for your outer container. It is important to heed the password recommendations provided by VeraCrypt on this screen. This password is the first layer in the
defense-in-depthmodel provided by this system.

-
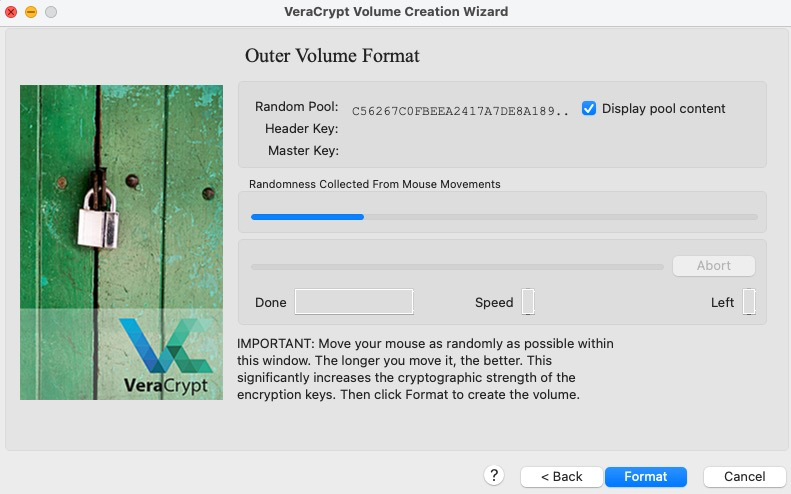
Now it is time to generate some entropy to base the cryptographic keys upon. Keep your mouse moving for a bit, but do not get carried away and waste too much time here.
-
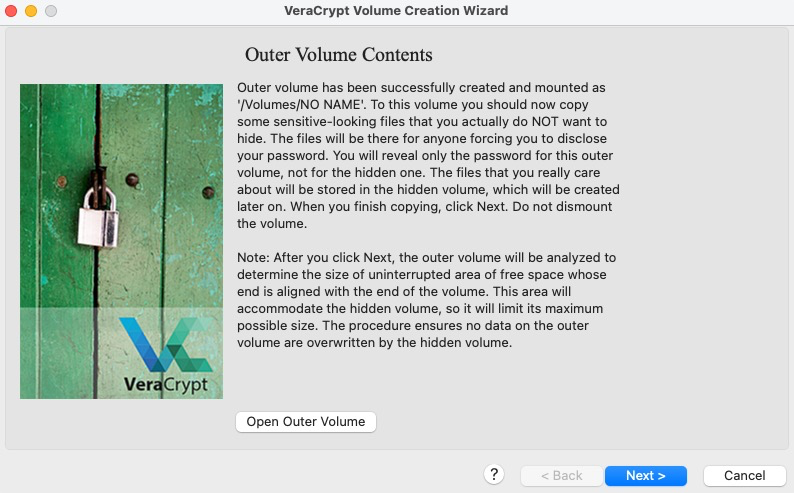
You have now created the outer volume; follow VeraCrypt’s recommendations about placing decoy files within the volume. After completing that step, continue on until you get to the hidden volume encryption options box.
-
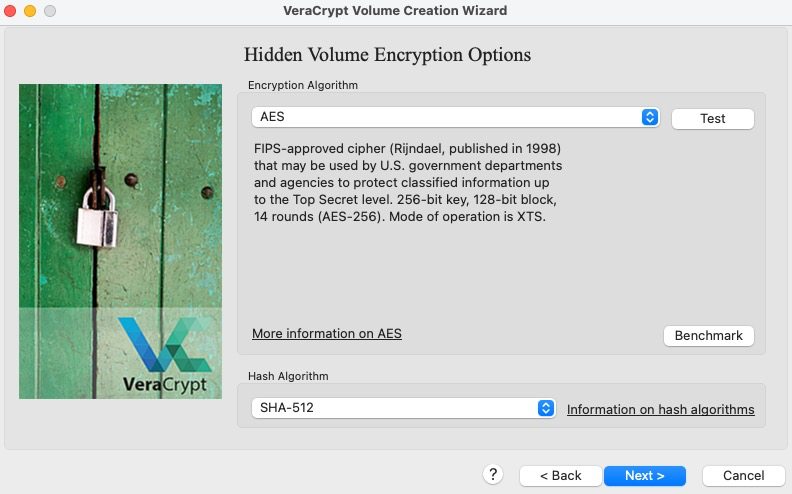
Again you are to select the encryption and hash functions, this time for the hidden volume. Unless you have compelling reasons otherwise, it is recommended to use the default settings.
-
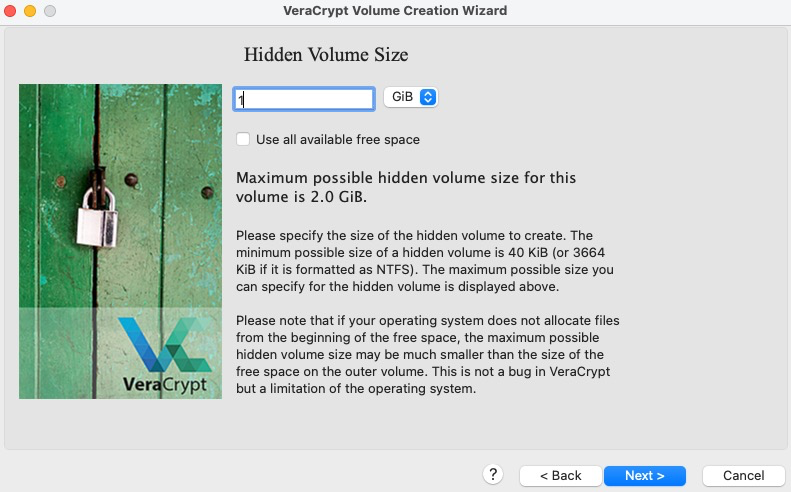
When selecting the size for the hidden volume, be sure to leave enough space outside of it for any additional decoy files you would like to place in the outer container.
-
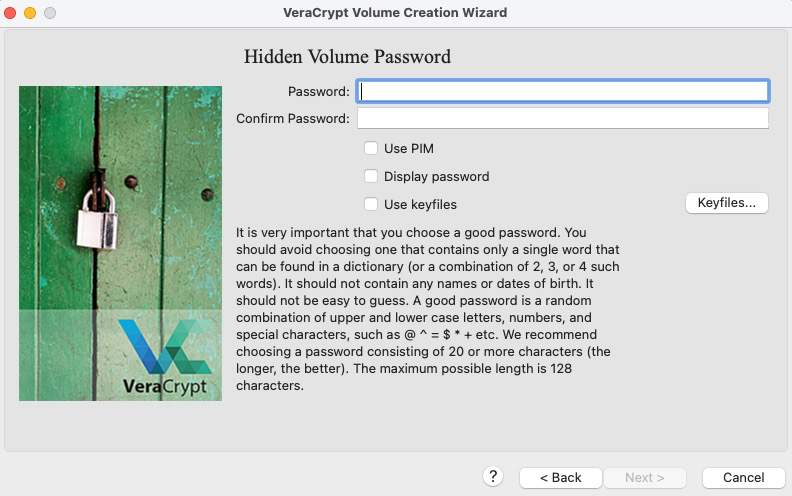
Now you are prompted to set the password for your hidden inner container. Make sure to set a password that is different from the outer volume password. Depending on which password you enter during usage, VeraCrypt will either mount the outer or hidden inner volume. This is the final layer of security before a person has access to your secret virtual machine: take that into consideration when creating you password.
-
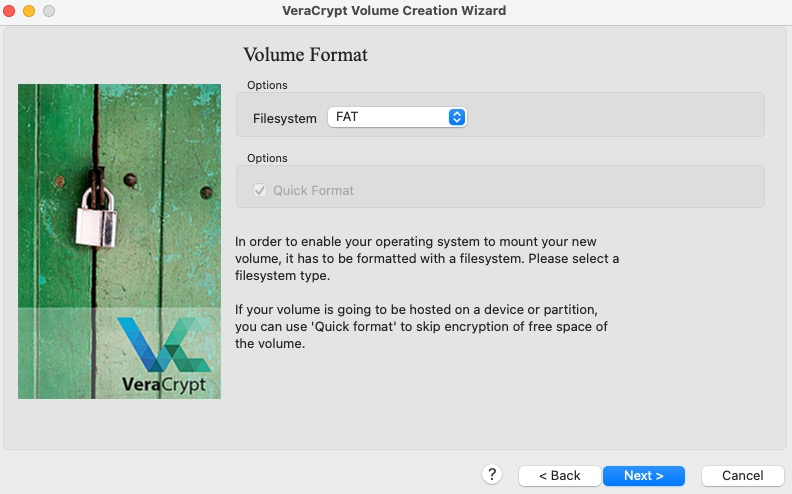
When choosing the filesystem to format your hidden container with, it is recommended to choose FAT for compatibility reasons (this may get changed during the installation of whatever OS you decide to install in the hidden partition).
-
Again, we need to create some entropy for the encryption keys of the hidden volume. The more the better, but again, do not get carried away and waste too much time - remember, you are just trying to add some
truerandomness to the pseudo-random number generator being used to create the keys.

-
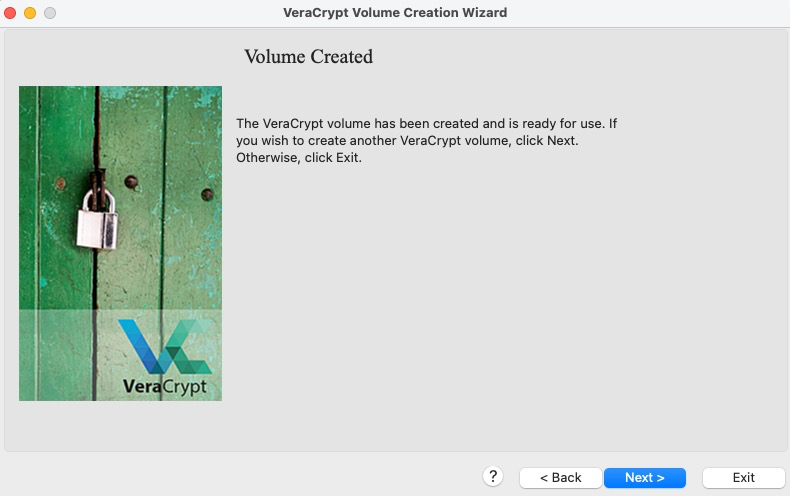
You are now done creating the outer encrypted volume (which will hold the decoy and your hidden volume) and the hidden volume itself. Click
Exit.Now we move on to installing your virtual machine inside of the hidden volume.
Installing your OS of choice using VirtualBox and VeraCrypt
-
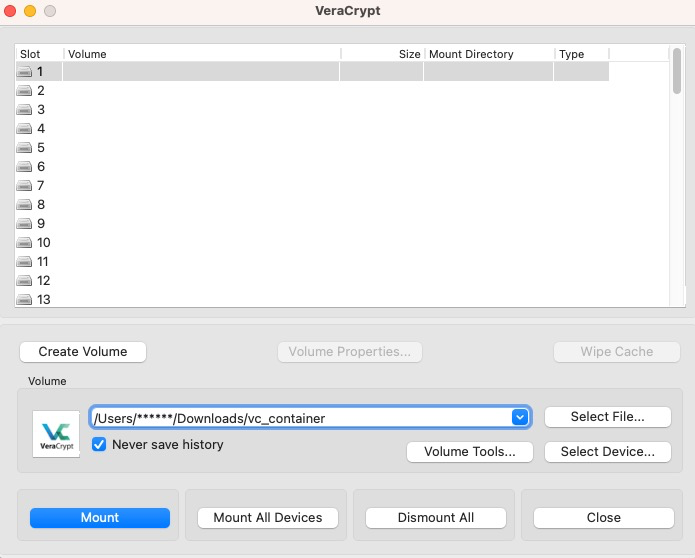
Make sure that you have unmounted any VeraCrypt volumes. Launch the VeraCrypt application if it is not already loaded and select your encrypted container file to mount. After clicking
Mount, you will be prompted to enter your password. Be sure to enter the password you selected for the hidden container, not the outer container, since this is where we will be storing your new virtual machine.
-
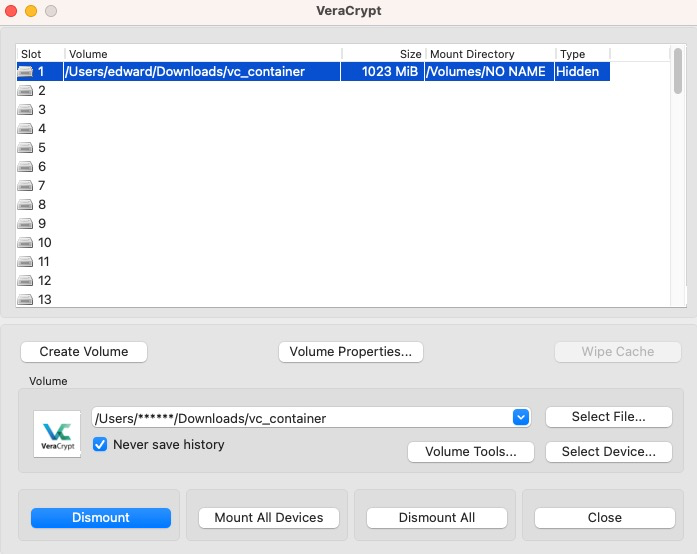
The main VeraCrypt screen should show that the hidden volume is mounted.
-
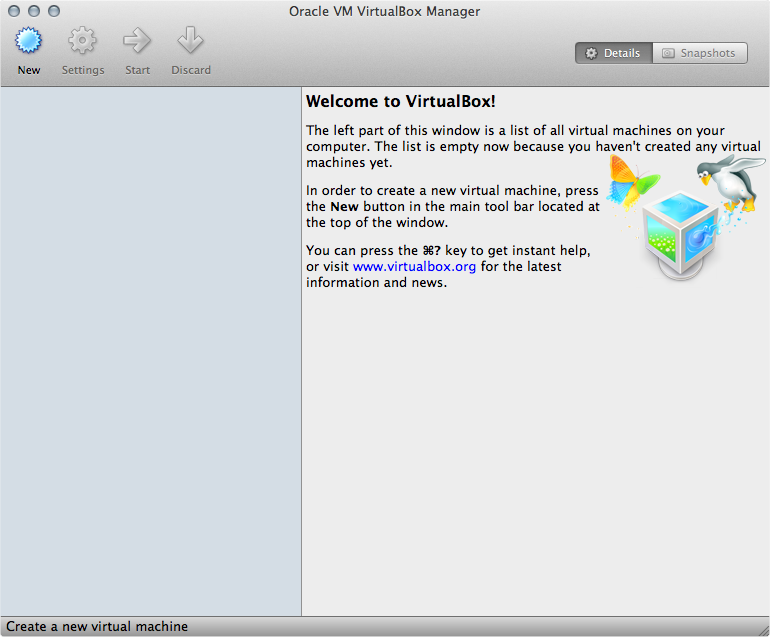
Now launch VirtualBox and select
Newto create a new virtual machine.
-
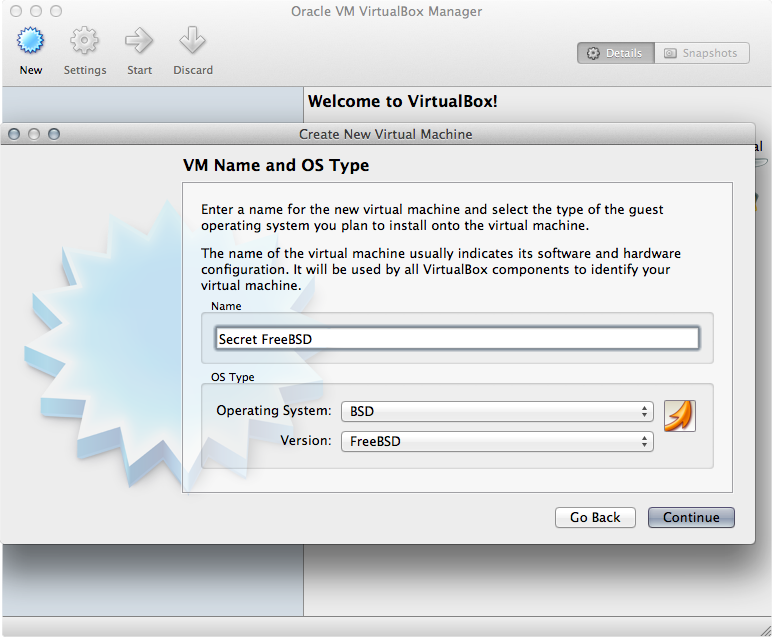
Continue through the wizard and enter the name and type of OS you will be installing
-
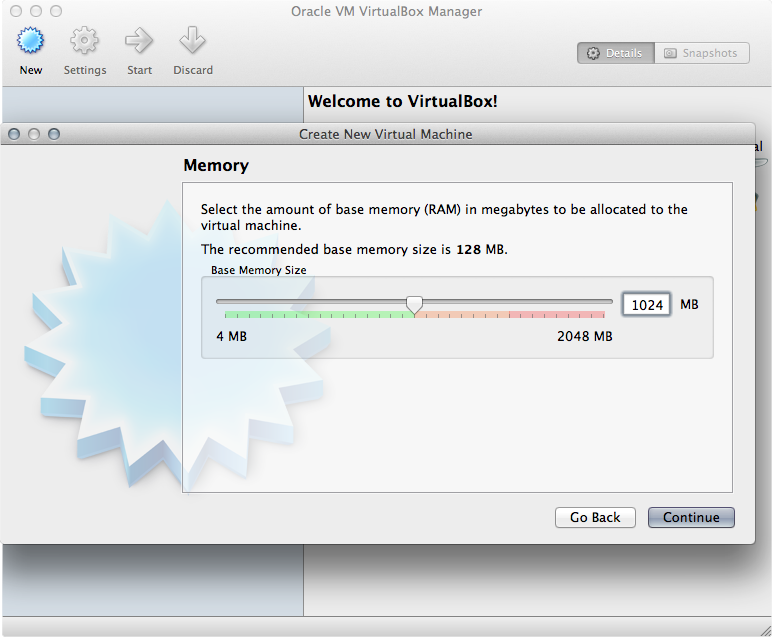
Select an appropriate amount of RAM to be allocated to your virtual machine; the more, the better, but remember not to choke out your host OS.
-
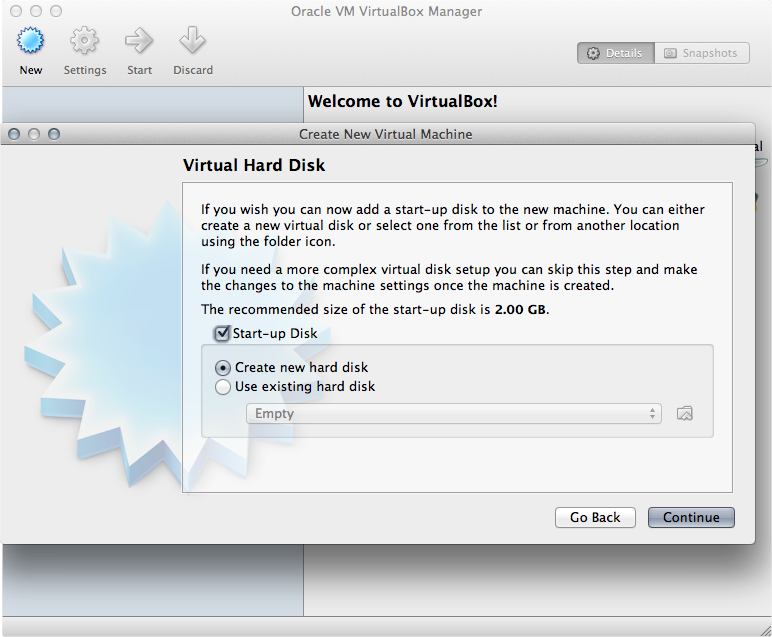
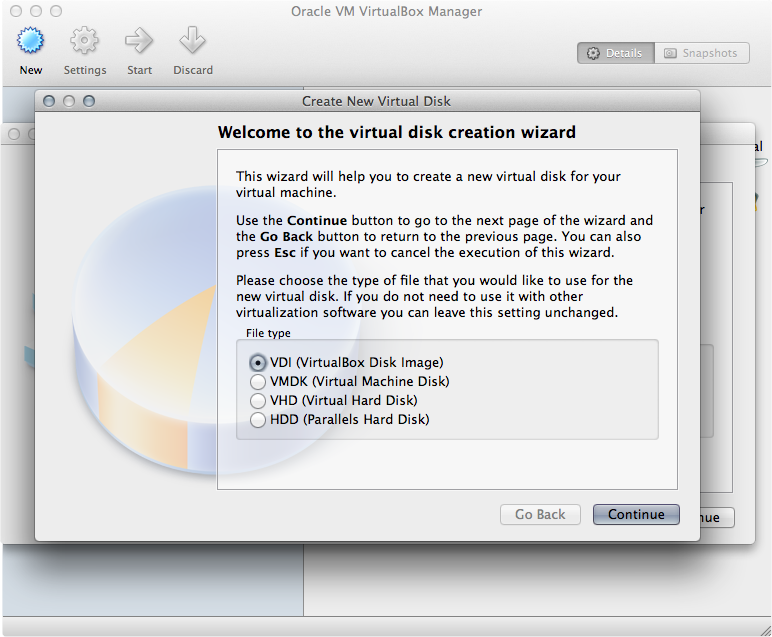
Here you will create the file that will represent your virtual machine disk. Feel free to use the default option unless you will need to be able to open the virtual machine using another VM manager (such as Parallels if you are on a Mac).
-
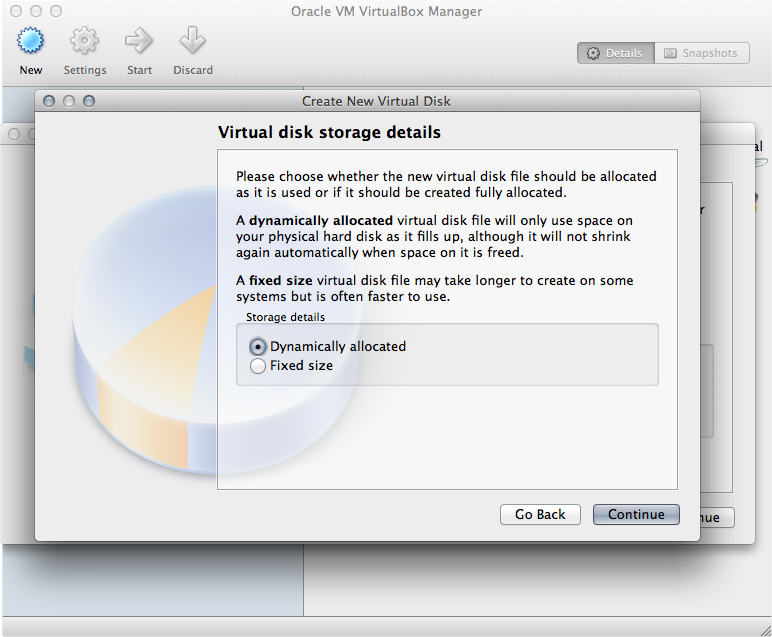
A dynamically allocated file will be fine - your space is already allocated during the VeraCrypt hidden volume creation process.
-
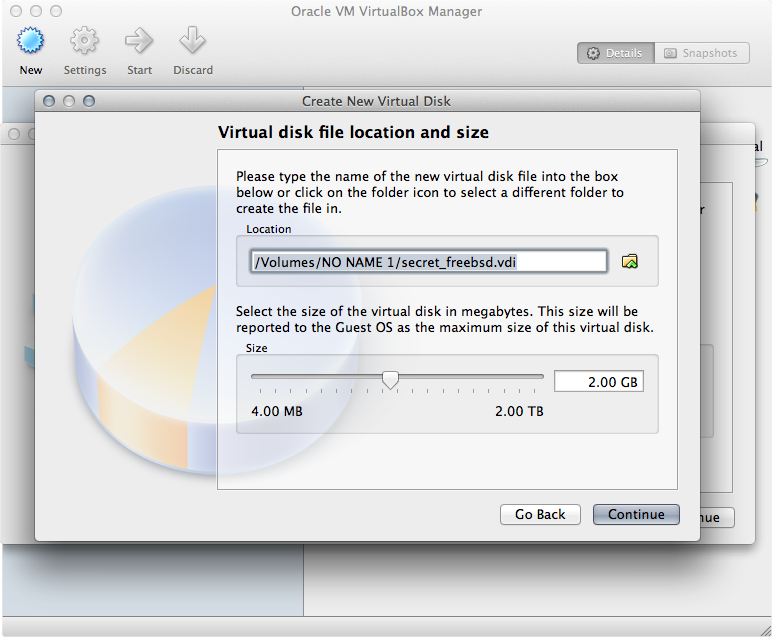
Now you will set the location of the file. Put it in the volume mounted by VeraCrypt (remember, this is automatically your hidden volume because you used the hidden volume password when you mounted the file in VeraCrypt). It is recommended that you set the max size to be slightly smaller than the amount of space that you reserved for your hidden volume in VeraCrypt.
-
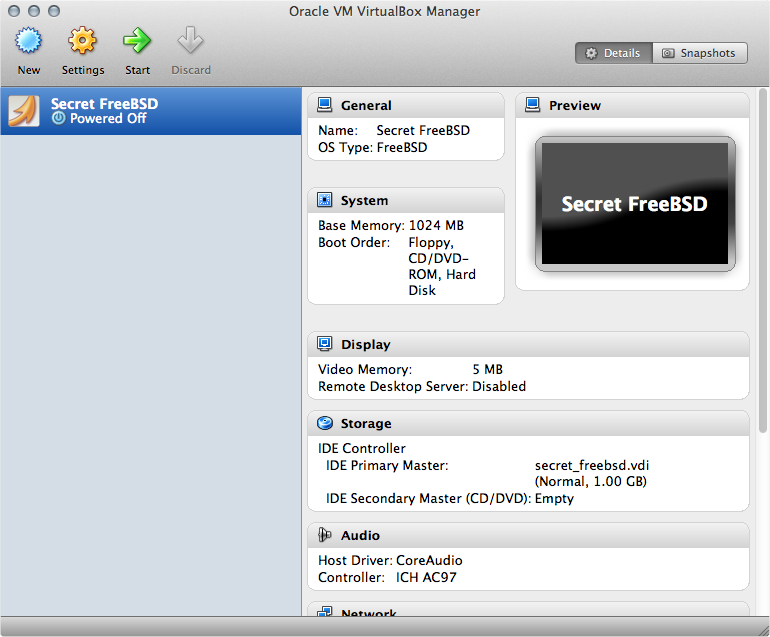
The new virtual machine should be created and appear in the main VirtualBox screen. Select the new VM and power it on.
-
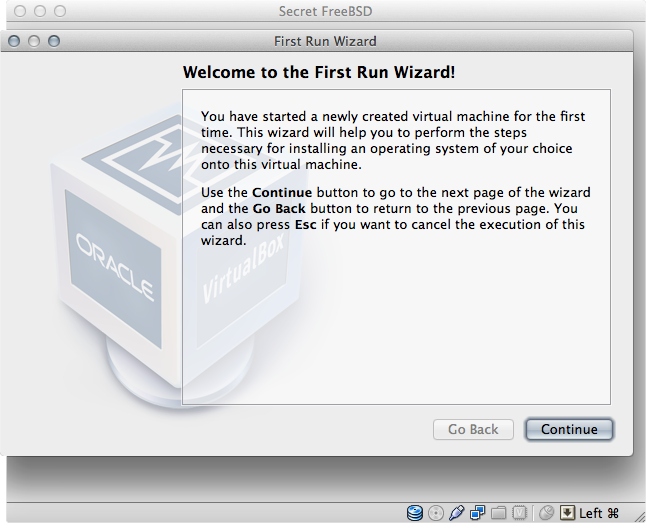
On the first launch of the new VM, you will be met with an installer wizard to help you get your new OS installed in the VM. Continue with the process for installing your OS of choice (either from a downloaded iso or CD/other install media).
-
After getting your new system up and running, shut down the VM and right click on the VM in the main VirtualBox screen and click
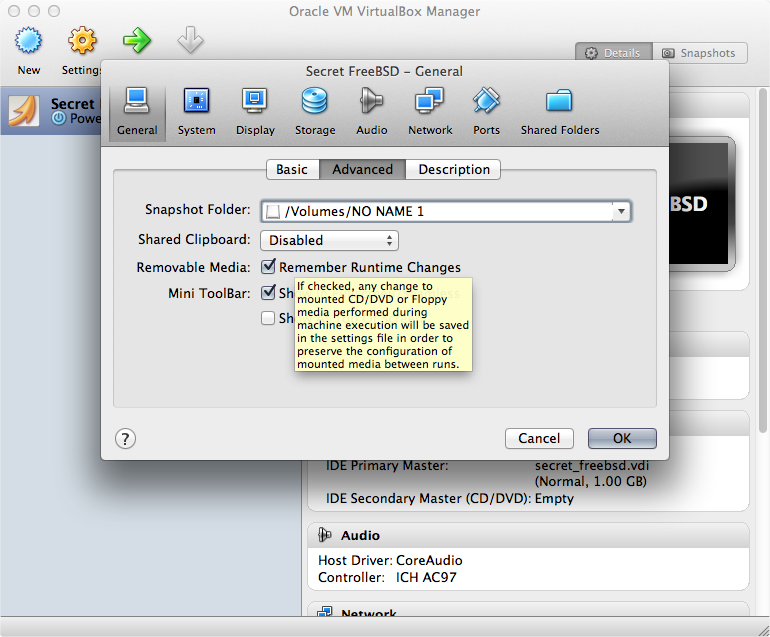
Settings. SelectAdvancedunder the System heading and change the snapshots storage location to be the mounted hidden VeraCrypt volume. Additionally, you should move the VM’s .vbox file from its normal location (usually in theVirtual Box VMsdirectory in your home directory) into the hidden VeraCrypt volume with the .vdi file that represents your virtual machine itself.
Usage
To launch your new hidden VM, mount your VeraCrypt hidden volume by opening the container file in VeraCrypt, but supply your hidden volume password instead of your outer volume password. Then double click the .vbox file. This will launch VirtualBox and start up the secret VM.
Be sure to unmount the hidden volume in VeraCrypt when you are done using your VM.
The fact that you have a block of encrypted data on your hard drive will be apparent to anyone who inspects your computer. If you are forced to decrypt it, simply provide the outer container password instead of the inner container password and all that will be visible is the decoy files you placed there earlier. There is no way to tell that the remaining encrypted data is not just filler created when VeraCrypt generated the outer container. You now have plausible deniability that there is anything else, let alone a separate virtual machine, on your computer. To read more on why this works, visit https://veracrypt.fr/en/Documentation.html
Caveats
- After you are done using your secret VM and have shut it down, be sure to right-click on it in the main VirtualBox screen and select Remove (but not delete all data). This will keep it from being listed if someone launches VirtualBox (though it would not boot anyway if your hidden volume is not mounted). Again, this helps to add to the plausible deniability of the hidden VM’s existence.
- Be sure not to create any shared directories or folders between the secret VM and your host OS. You want this VM to be completely segregated from the rest of your computer to eliminate the possibility of data leaking either way.
Here to learn?
Consult our guides for increasing your privacy and anonymity.
IVPN Privacy GuidesSuggest an edit on GitHub.